Chapter 12: Painting with light.
The Leica Q2 Monochrom journal.
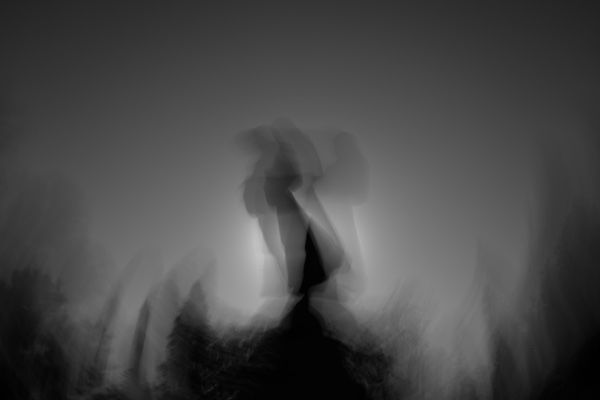
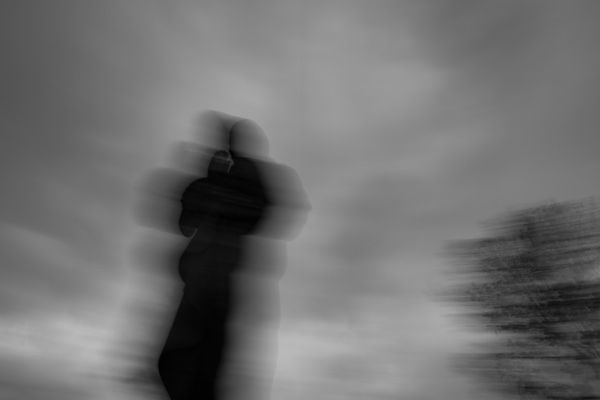
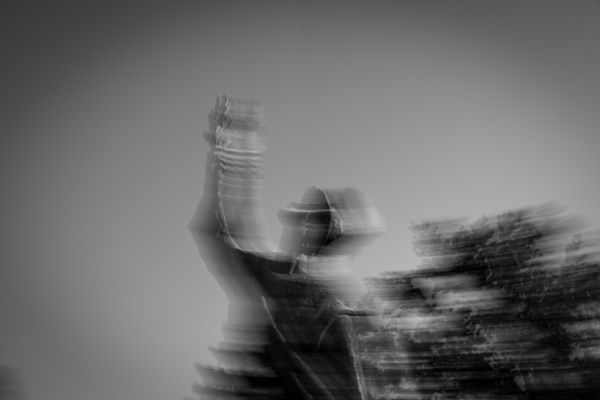
Translated literally, photography means painting with light. I often take this idea literally as well and move the camera during a long exposure as if it were a brush. The resulting photos often combine blur, stuttering shadows and streaks of motion captured in the sweep of the camera. There’s much experimentation required to create an intriguing image with intentional blur. While techniques are open to interpretation and your own trial-and-error, here’s my workflow.
Use a neutral density filter on the lens.
The Leica Q2 Monochrom is a brilliant camera for freezing images in very dim light. That’s wonderful for normal photos, but it presents challenges in getting the shutter slow enough to create intentional blur in daylight. A neutral density filter reduces light entering the camera so you can slow the shutter speed and still get a good exposure. I use the 49mm Urth ND 1000 Plus+ This is made from optically-superior German Schott glass, but is still reasonably priced at about $60.
This filter reduces the light by 10 stops. It’s a rather strong ND filter, but necessary for slower shutter speeds in sunlight. Weaker filters will not let you slow the shutter enough. A stronger filter may not let you focus automatically, may make the scene too dim to compose and can throw off exposure. This filter has two parts: a magnetic holder that attaches to the camera and the filter. This makes it easy to shoot blurs and then remove the filter for normal exposures. Even with a UV filter and ND filter, I see no noticeable vignetting at the corners of the images.
Set the ISO to 200.
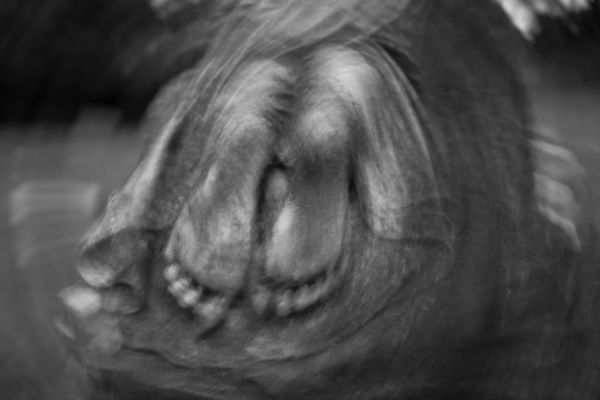
This appears to be the base ISO for the Q2M. (100 ISO uses a “pull” technique by hacking off upper light values.) You need to set the ISO manually so the camera won’t try to compensate for the ND filter by automatically increasing ISO.
Leave the shutter on Auto.
While you can set the shutter manually, I find this technique works well when you set the camera to aperture-priority. Even with the light dimmed 10 stops, the auto-exposure seems to be very accurate.
Start with the aperture at ƒ︎16.
The aperture now controls the shutter speed. In the shutter/ISO/aperture equation, ƒ︎16 will give you the slowest shutter. If your shutter speed shows slower than about 1½ seconds, you may have the luxury of opening up to a sharper ƒ︎-stop, like ƒ︎8 or ƒ︎5.6.
Find your shutter speed.
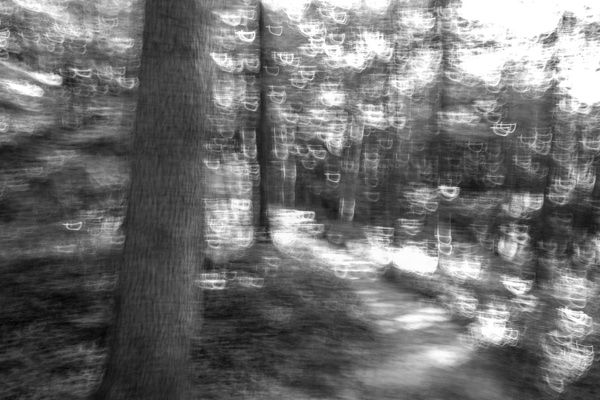
Most of my handheld exposures are typically ½ second to 1½ seconds long. I find this a very workable range to keep the details clear enough that you have an inkling as to what the subject is. Longer exposures can wind up as undefinable patches of gray. Shorter exposures can just look like focusing mistakes.
Focus on your subject.
Though you’re intentionally blurring, you still want to focus on your subject. This gives you more control over definition of the subject.
Move like a brush.
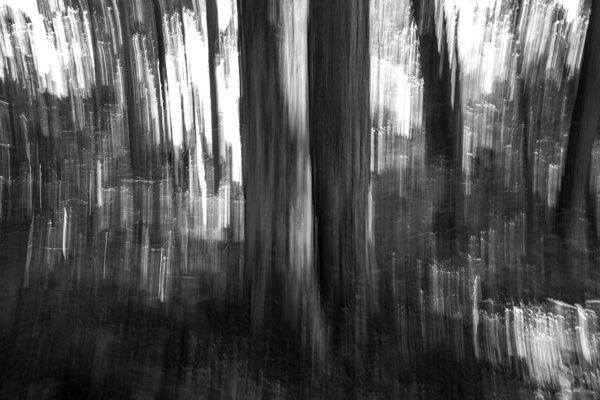
When you trip the shutter, beyond the basic panning and tilting, you can move in circles, spin the camera, move it in jerky motions, zig-zag, start still to establish the image and move just before the shutter closes, etc. The motions you can make are endless and often decided based on what works well with the subject matter. For example, the trunks of trees in the forest above retain their shape when tilting during the exposure. But the lone tree against a cloudy sky below can look wonderfully stretched by panning. No two exposures will ever look quite the same, so take multiple shots for each scene.
Edit.
I find the Clarity slider in Lightroom to be useful for defining shapes, but you may remove the subtlety of the scene if you use too much. For various reasons, enhancing the gray tones can really bring out the movement, so bringing down the Exposure slider and bringing up the Shadows slider usually works well. I recommend you shoot DNG files as opposed to JPGs to give yourself a broader tone range for editing.
My take.
I consider handheld blur to be photography’s ode to impressionism. Controlled movement of the camera during a long exposure is a genre within itself. At least it has been for me. There are issues to overcome, like the Q2M screens going dark while the shutter is open. (Only a digital rangefinder will let you see your movement live.) But this technique is simple, only requires a cheap filter and adds one more creative way to express yourself.
Like this series? Consider buying me a coffee below

Photography Leica Q2 Monochrom